

What is other in storage Android? It’s the most curious question that jumps into every smartphone user mind. In…
What is .hnc file ?

What is .hnc file? – is one of the common questions among android users who have found it but…
Where Is My Settings App On My Android? And How To Open The Settings App?

As an Android user, you need to access the Settings menu at least once a day to personalize your…
Where Do I Find My Saved Items On My Android Phone?

Let us tell you a fact – almost all the saved files in the phone directly get stored in…
How to Save Web Pages on Android?

Many smartphone and tablet users want to know how to save web pages on Android. The post is going…
How To Install Ios 12 On Unsupported Devices?

When you are stuck with an older iOS version and trying to learn how to install iOS 12 on…
Where Are Memos Stored On Samsung Galaxy S5 ?

A critical aspect of the memo is that they bring attention and focus to particular problems. They also play…
What is RILnotifier & How To Fix The “Error Connection Failed“?
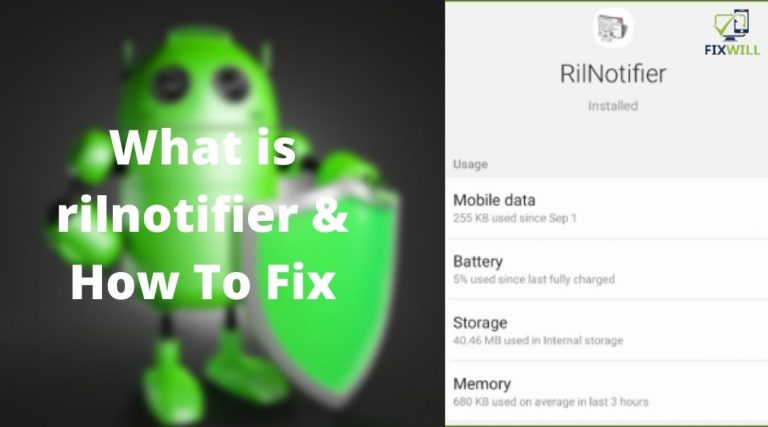
RILnotifier is an app for your mobile devices most commonly found as a built-in option to manage internet data…
How to Install cab files Windows 10 [Very Easy Process]
Do you want to know the process how to Install cab files Windows 10? If you are a Windows…
What Is Silent Logging Android & How it Works
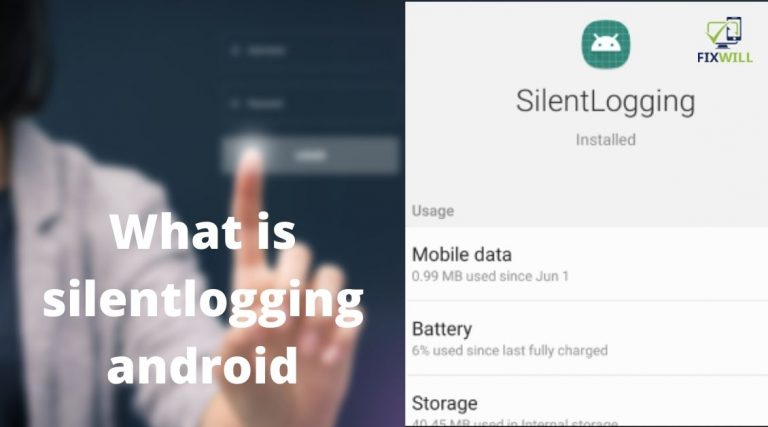
Silent logging is an application for Samsung or other smartphones that can have internet access silently. Some customers claim…
What is Kernel Version in Android? [ Why it Matters]

Apart from the Android version, we also see or hear about the Kernel version on Android. Like the core…